
Framing Art Prints

How to Frame Art Prints
Many people ask me how to best frame their newly purchased art prints. There are many different ways to do it, depending on the size, paper type and budget. Here are some tips based on my experience to help guide your decision-making process.
Dibond Mounting Your Art Print
One archival framing solution I highly recommend is mounting your print on Dibond and providing a protective layer at the front. This method beautifully presents a photographic image. However, it can be pricey and is irreversible.
What is Dibond?
Dibond mounting is widely used among photographers to exhibit their work in a way that is both rigid and lightweight. It consists of a compressed composite panel between two aluminium plates. Fine Art paper can be mounted onto Dibond while retaining all its properties, such as texture, tonality, and colours.
Dibond has a luxurious appearance, stays flat and straight over time, and is highly durable.
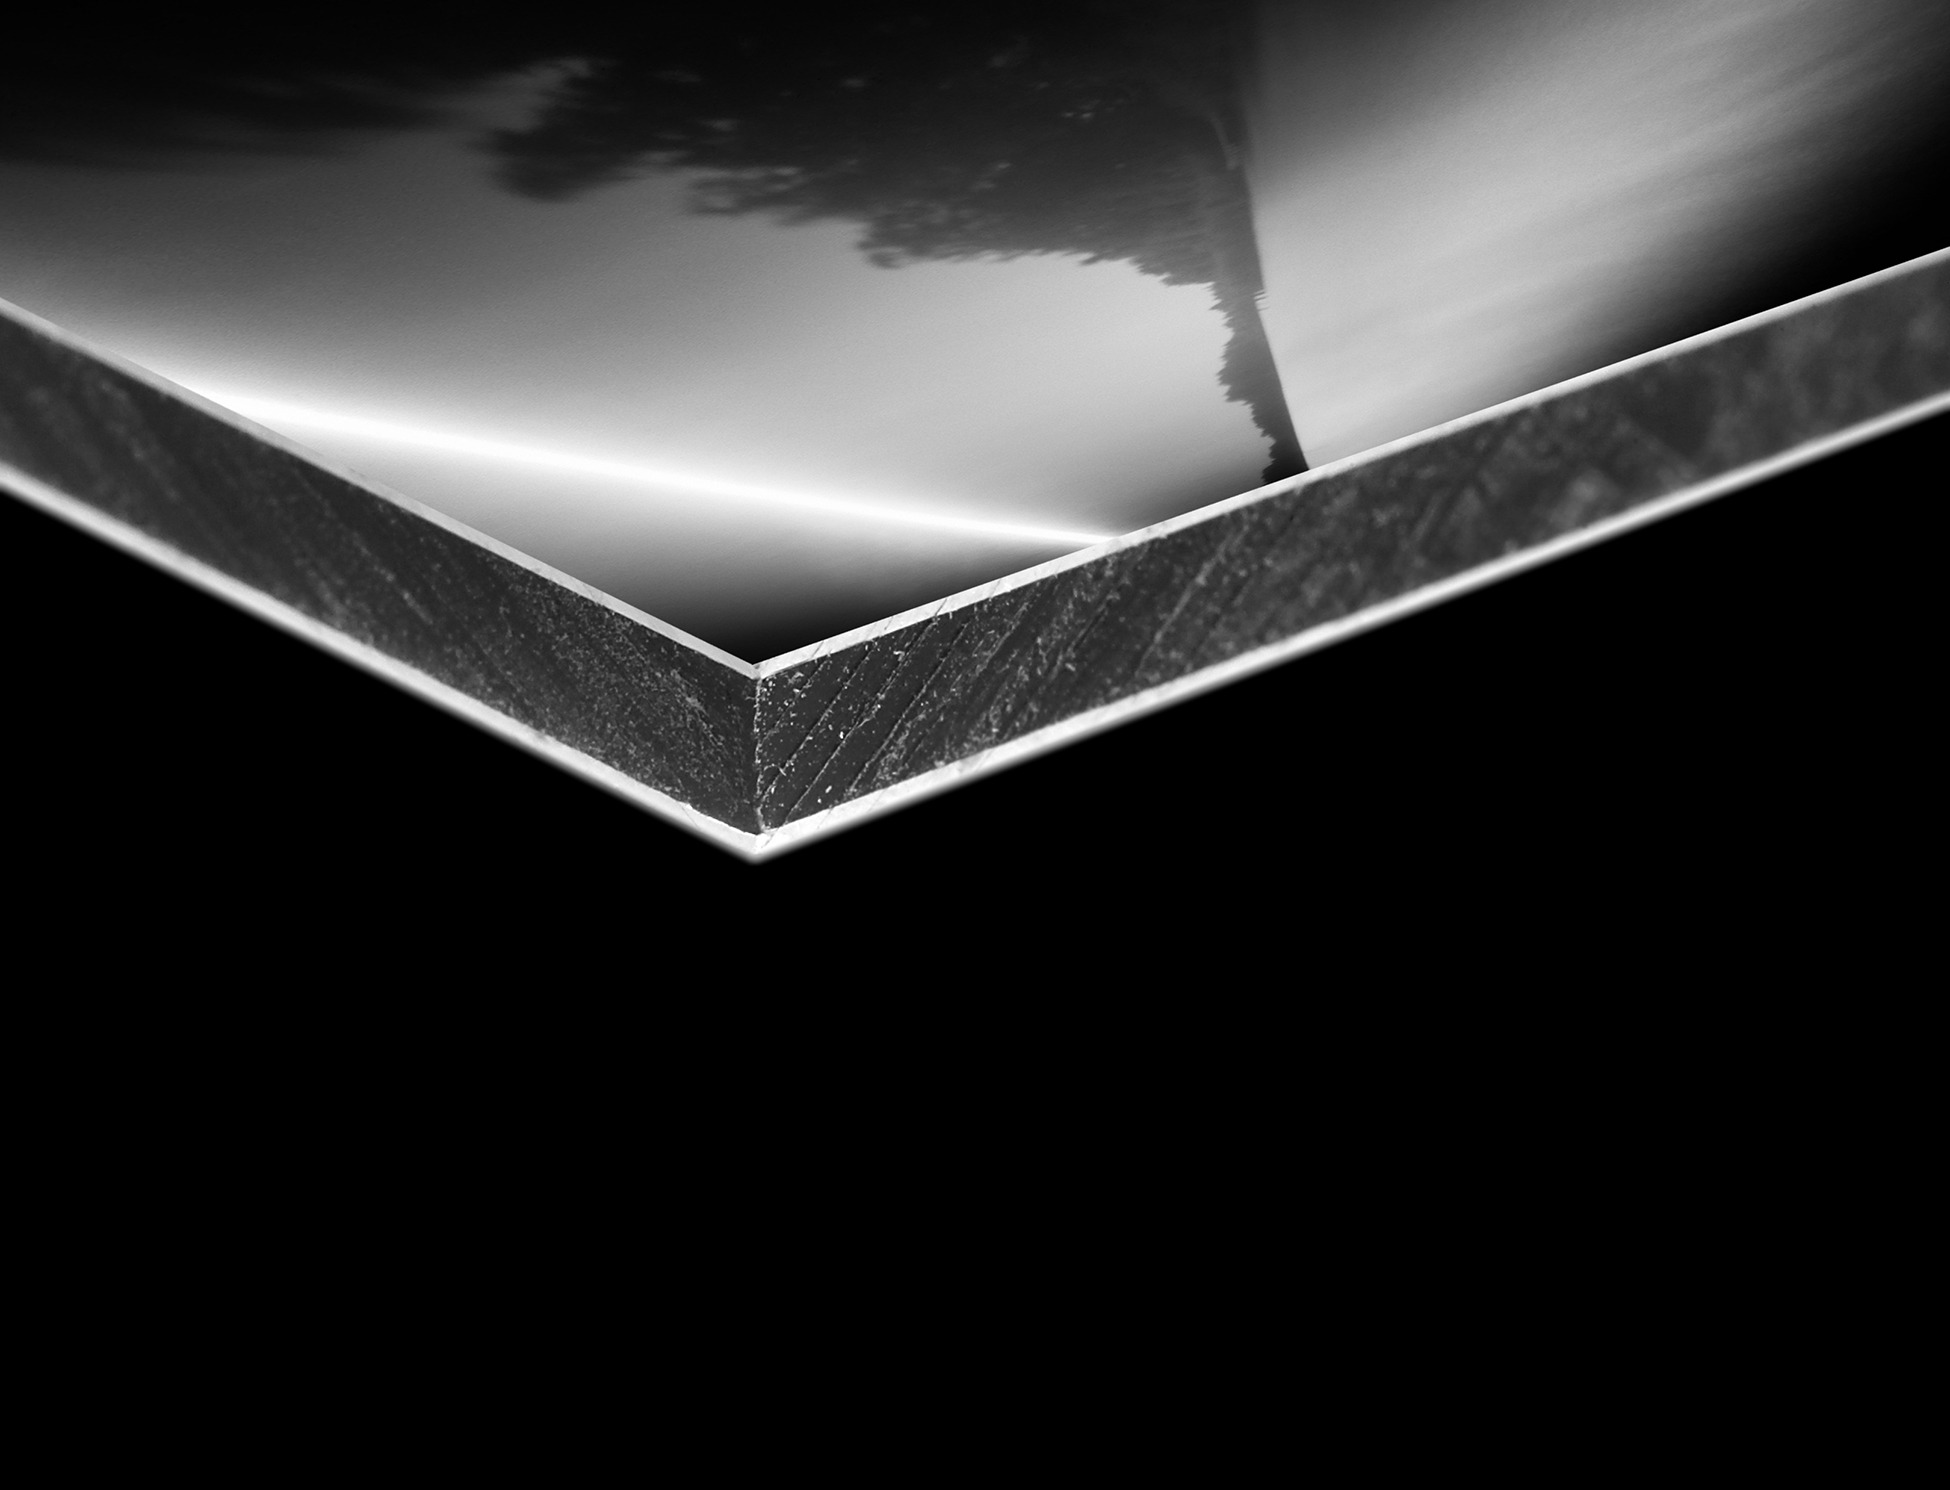
Detail of Dibond
Diasec
To protect the front of your print, you can use laminate or Diasec. Diasec is typically the most visually striking but also the most expensive. It is an acrylic resin layer glued to your print by a specialized company, enhancing depth, shine, and colour intensity while offering UV protection and dust resistance.
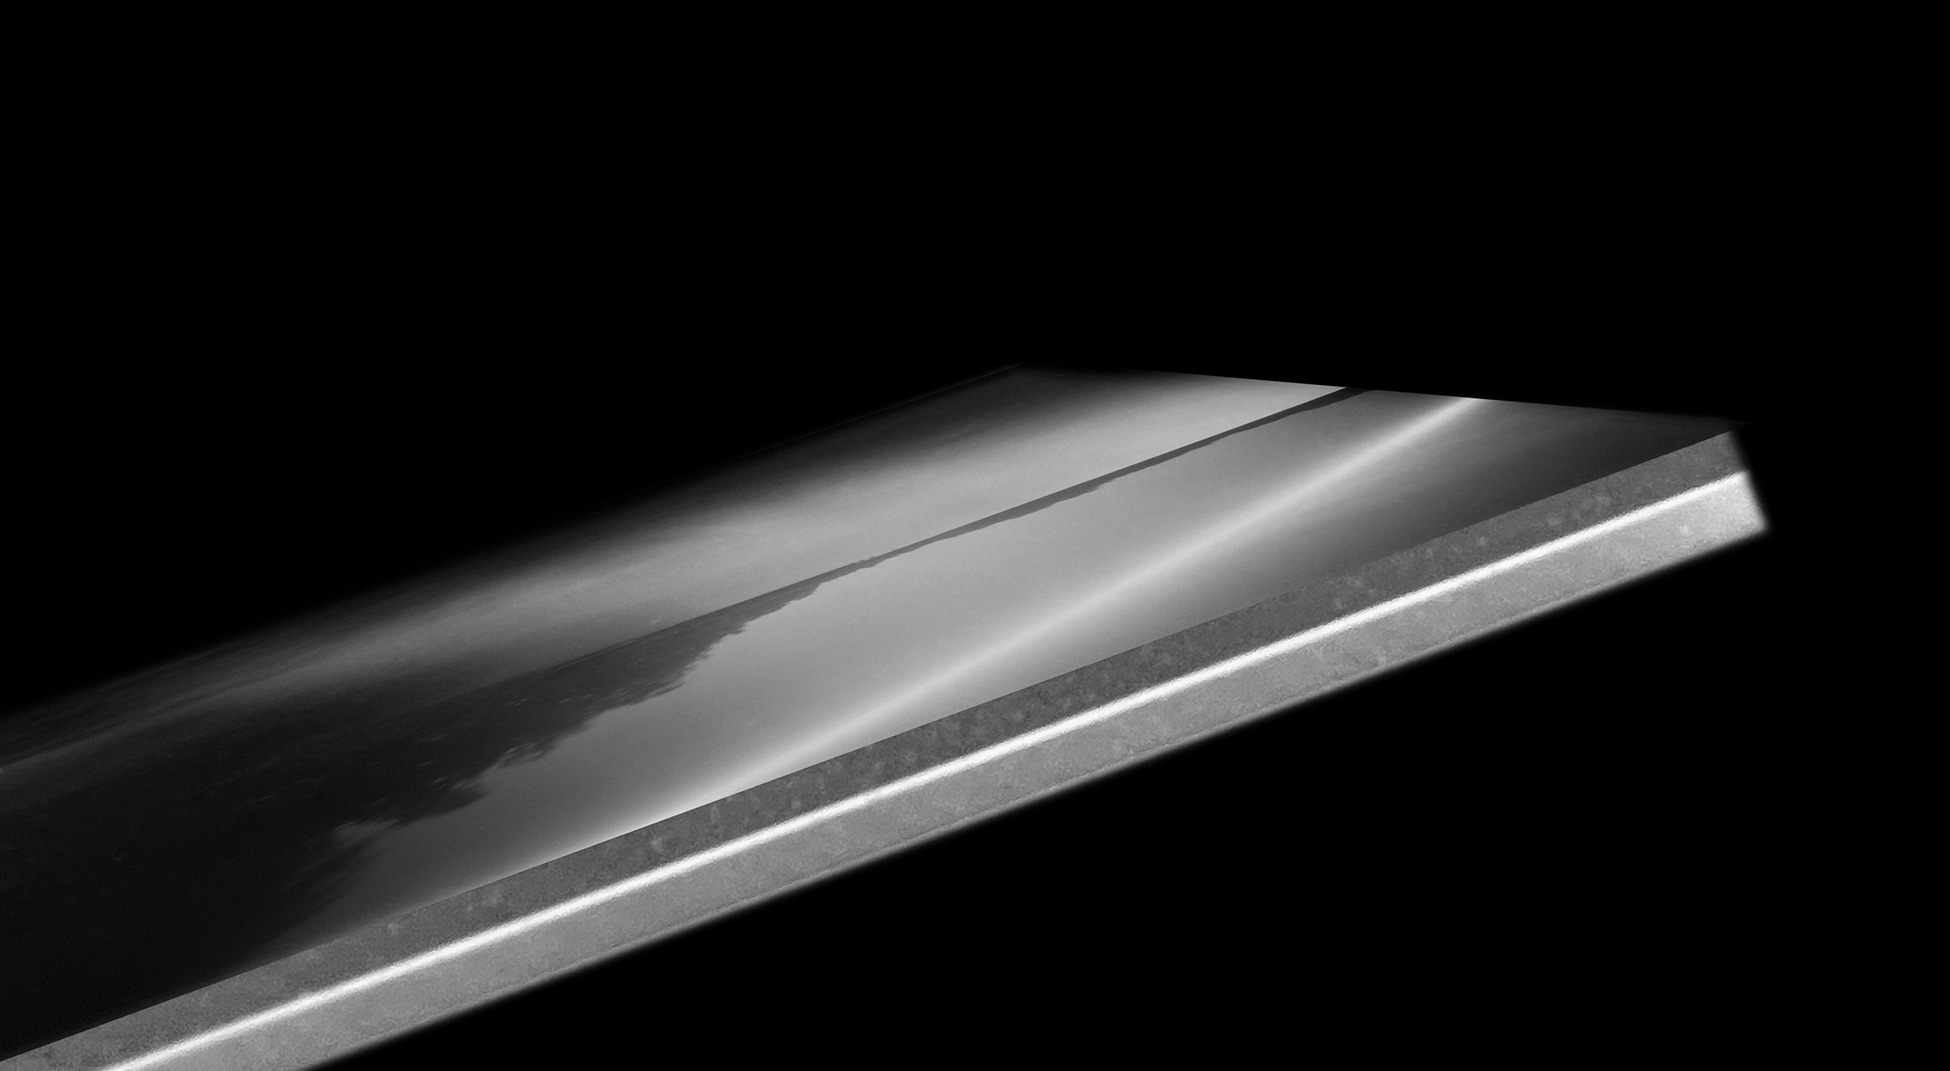
Dibond and Diasec mounted
Dibond and Diasec Mounted Prints
Diasec is available in different finishes, such as gloss, matte, and museum quality:
- Gloss: The most affordable option but also the most reflective.
- Matte: Reduces glare while maintaining vibrancy.
- Museum Quality: The most expensive, offering the highest protection and clarity.
Lacklustre Diasec: I personally prefer Lacklustre Diasec, which gives the impression of looking directly at the paper while maintaining depth and intense colours. It eliminates reflections and enhances the viewing experience.
Laminate
For budget-friendly protection, a laminate layer works well, especially when combined with a quality frame. Laminates come in matte, gloss, and semi-gloss finishes.
Framing a Dibond and Diasec Mounted Print
Dibond and Diasec-mounted prints can also be framed, depending on your taste and budget. There are beautiful handmade frames for sale that are made of very high-quality wood.
However, not all framers offer Dibond and Diasec services. You will need to find a specialized company for this. Fortunately, I have access to a patented Diasec company near me and can arrange framing for collectors upon request.
Classic Framing for Art Prints
For smaller budgets and practical reasons like easy shipping, classic framing is a great alternative. Many collectors prefer traditional frames for their art prints.
Matting and Framing Art Prints
A passe-partout (mat) enhances the artwork and provides protection. A professional framer can help you choose the right frame and mat colour. I generally prefer an off-white mat, as it complements the artwork without distraction.
Choosing the Right Size for Your Passe-Partout
There are no strict rules for mat sizing, but a minimum width of 5–6 cm (about 2 inches) is common. The frame should always be narrower than the mat to maintain balance.
A mat also allows you to use standard-sized frames, making it a more affordable option.

Classic frame
DIY Framing
If you’re skilled, you can cut your own passe-partout using a mat cutter. However, it requires precision. I attempted this myself but found it frustrating due to frequent mistakes, such as cutting too far or uneven edges. If you’re confident in your skills, DIY framing can be a rewarding option.
Choosing the Right Frame
Frames come with either glass or plexiglass:
- Glass: Scratch-resistant and less prone to static but heavier and fragile.
- Plexiglass: Lightweight and shatterproof but more susceptible to scratches.
For large prints, plexiglass is my preference due to its lighter weight.
Archival Materials
Always use acid-free materials to prevent damage over time. This includes:
- Acid-free mats
- Acid-free tape for mounting
The Framed Print Should Not Touch the Glass
A print should never be pressed against the glass, as humidity changes can cause condensation, leading to adhesion and damage. This also increases the risk of warping.
Framing Art Prints Without a Mat
If you prefer to frame without a passe-partout, ensure a spacer is placed between the glass and the print to allow air circulation. A framer can mount the print on acid-free cardboard, though the texture may be visible from the front.
Final Thoughts
These are the basics of framing art prints, but a professional framer can provide additional insights tailored to your artwork and budget.
If you’re interested in purchasing a print from me, I’m happy to provide advice. Feel free to contact me if you have any questions!
Sign up for regular updates so you never miss a blog post!
Categories